![Logo Aqurate White.png]](https://aqurate.ai/hs-fs/hubfs/Logo%20Aqurate%20White.png?height=40&name=Logo%20Aqurate%20White.png)
⏳ Duration: 5 minutes
🎚️ Complexity: low
📌 Prerequisites
1. An Aqurate account (get it at aqurate.ai)
2. A MerchantPro account with Admin access level.
3. A GTM container connected with your shop
📖 Content
💯 Aqurate delivers the best results for stores with 100+ orders per month. With lower order volumes, there may not be enough data for the recommendation engine to generate accurate product suggestions, making it harder to see significant value during the trial period. We recommend enabling Aqurate only if your shop currently has 100+ orders per month.
Step 1 - Connect the MerchantPro integration and get the API key
Log into your Aqurate account, to add the MerchantPro Integration and generate the API key:
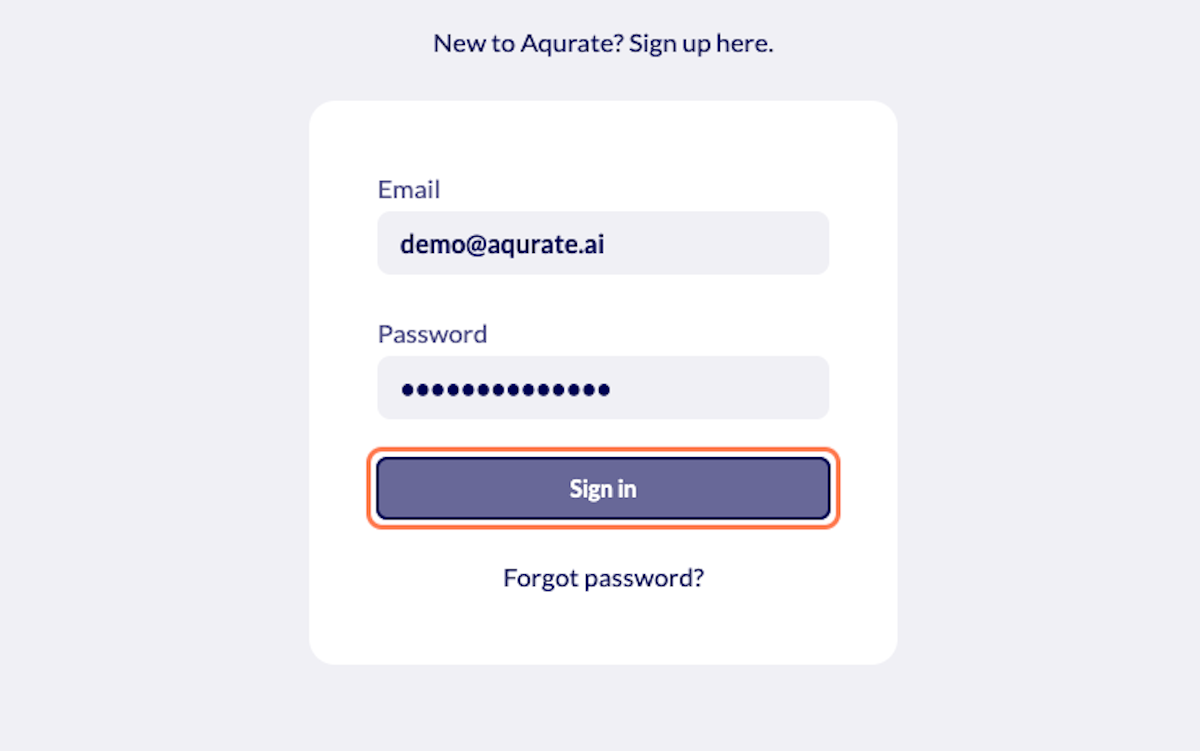
Go to app.aqurate.ai and login
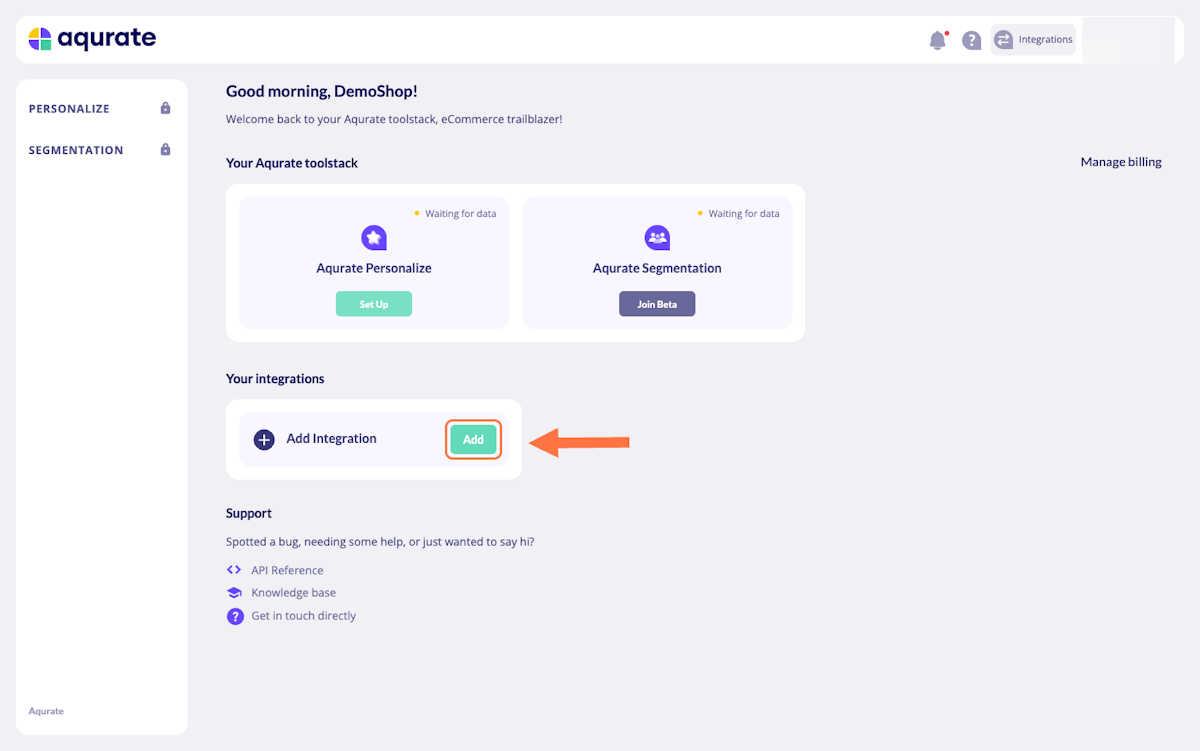
From the home screen, Add an integration
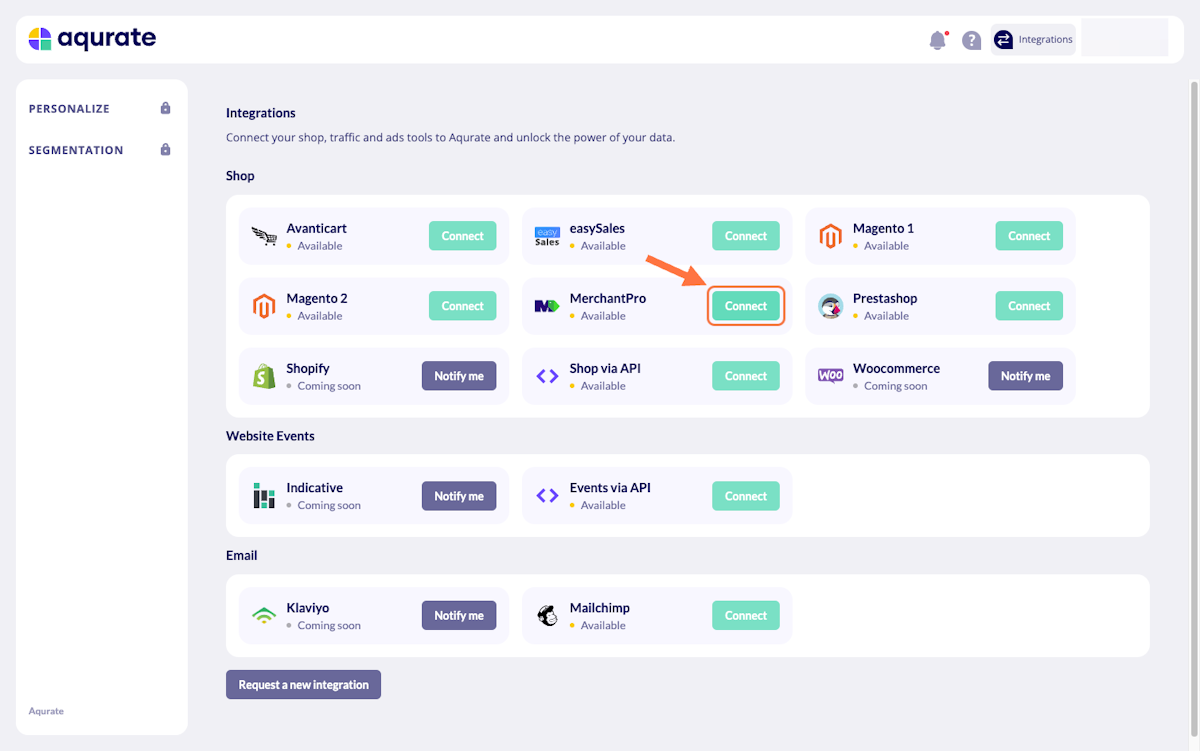
Search for MerchantPro and click on Connect
Click on Generate API key
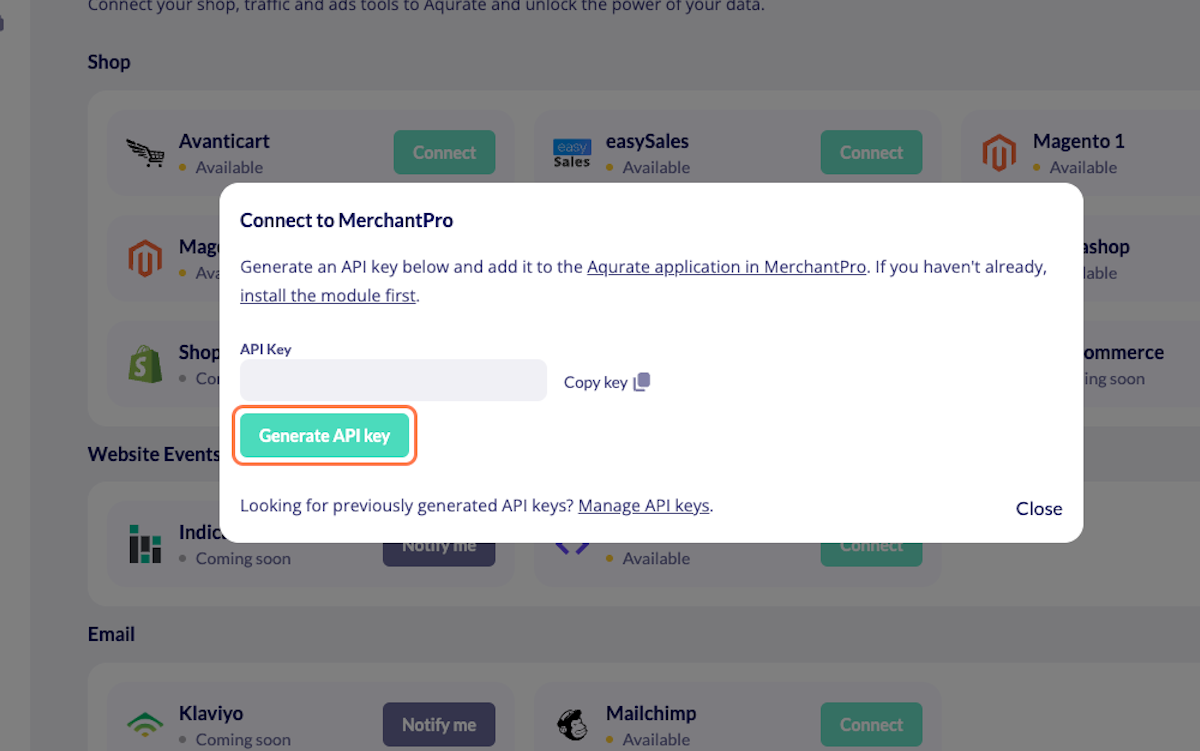
Copy the generated key to use it for the next steps
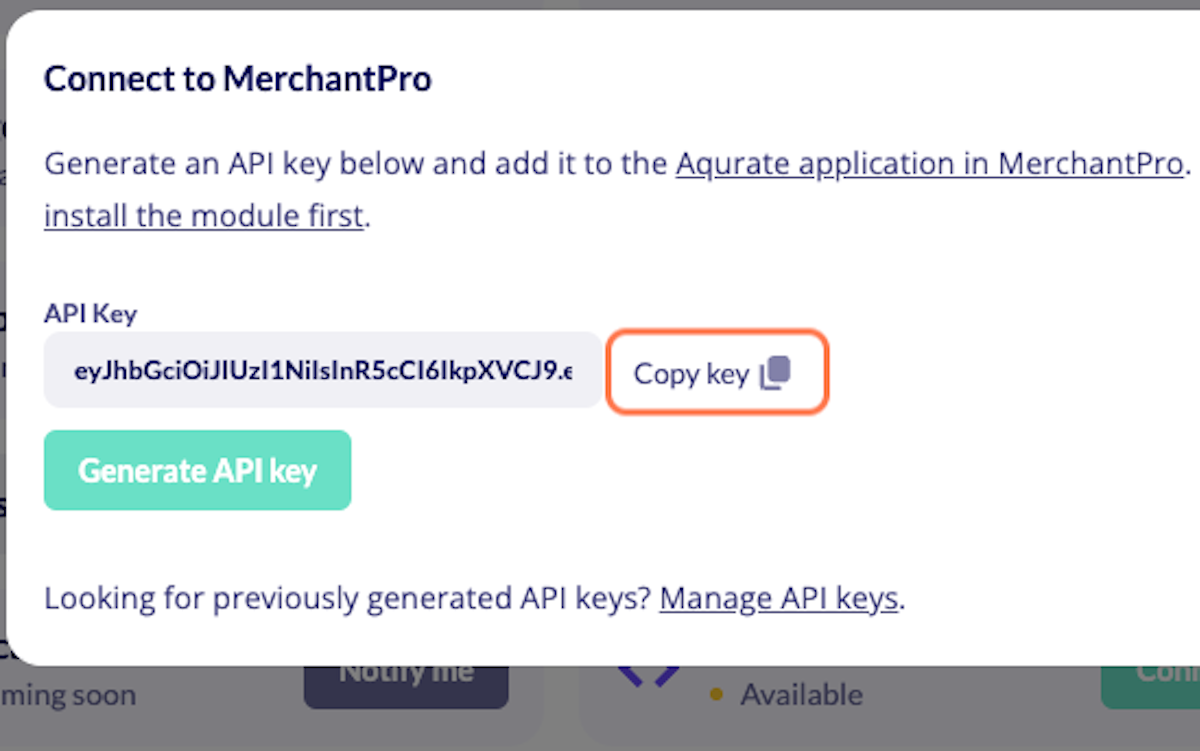
💡 Keep in mind, you can revoke the API key at any point.
Step 2 - Install the Aqurate app in MerchantPro
Install the Aqurate Application in your MerchantPro admin account and configure it as follows:
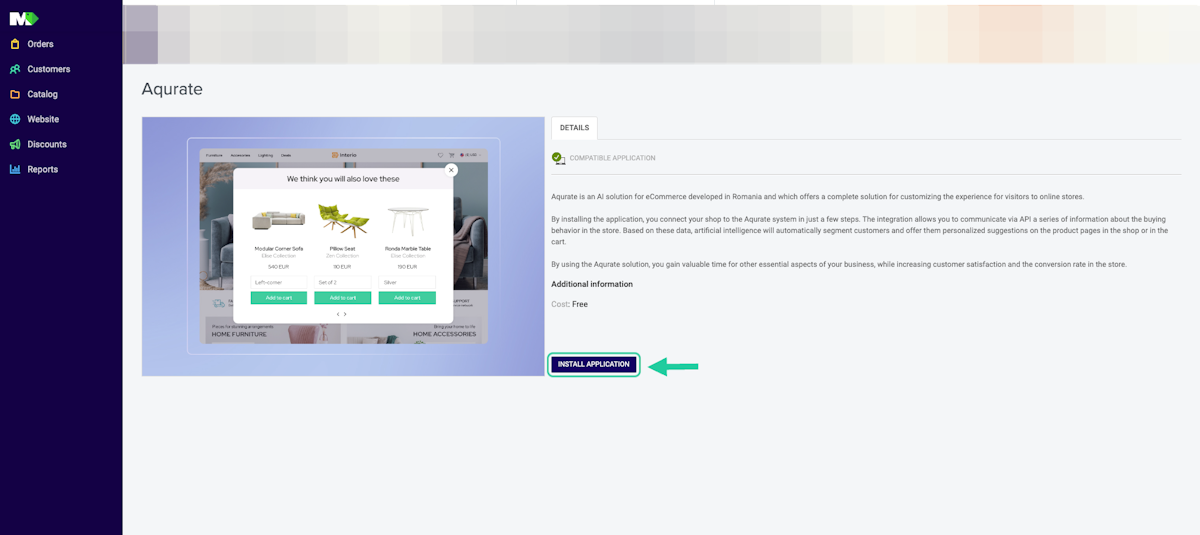
Paste the API key copied at Step 1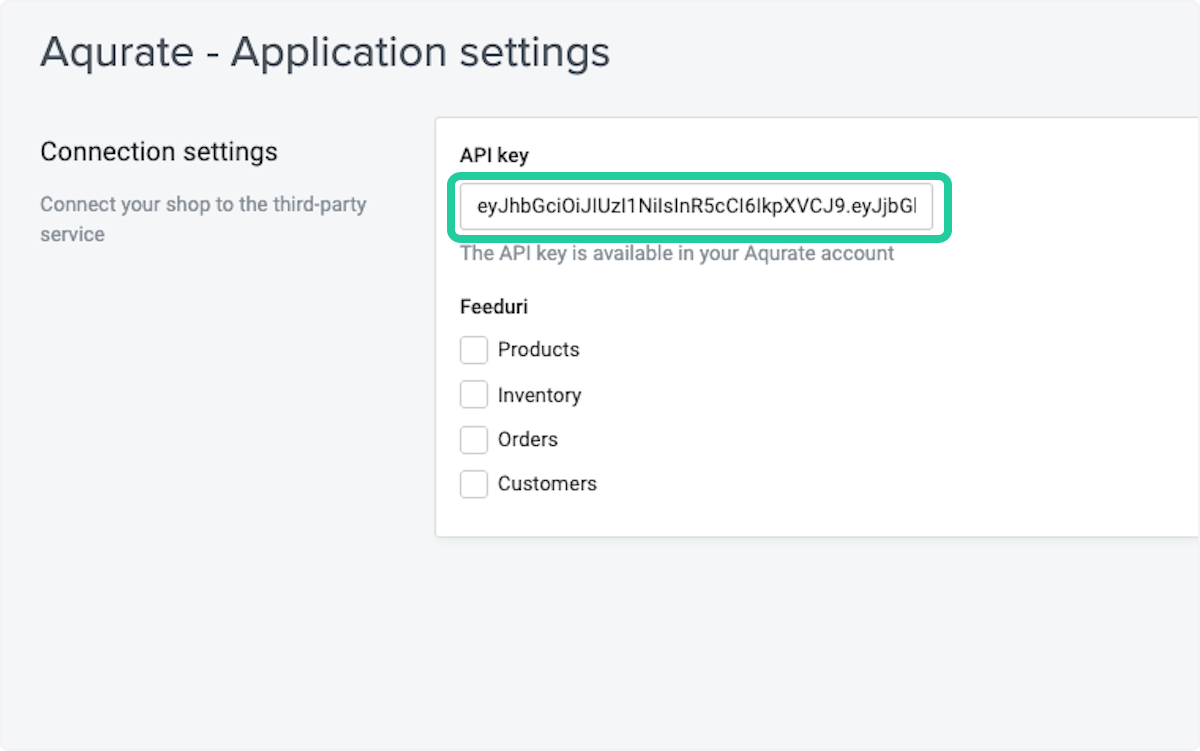
Check the Feed boxes: Products, Inventory, Orders & Customers

The Customers feed is required only for personalized user recommendations.
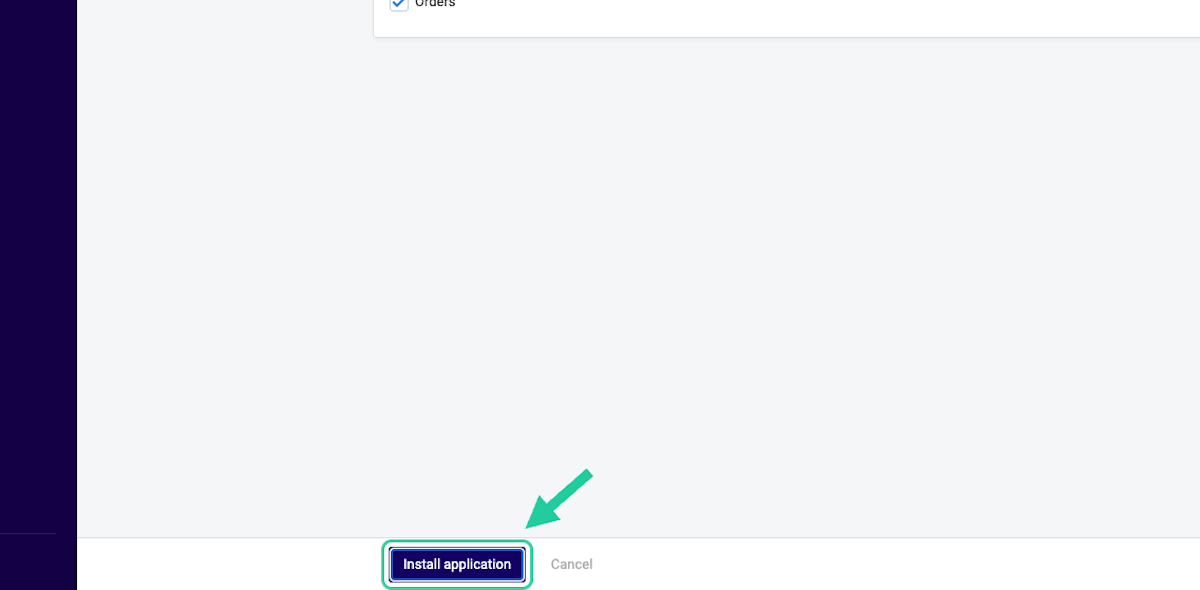
Please avoid applying filters to the feeds sent to Aqurate in order to maintain a good recommendations coverage.
Make sure the Aqurate Application is activated
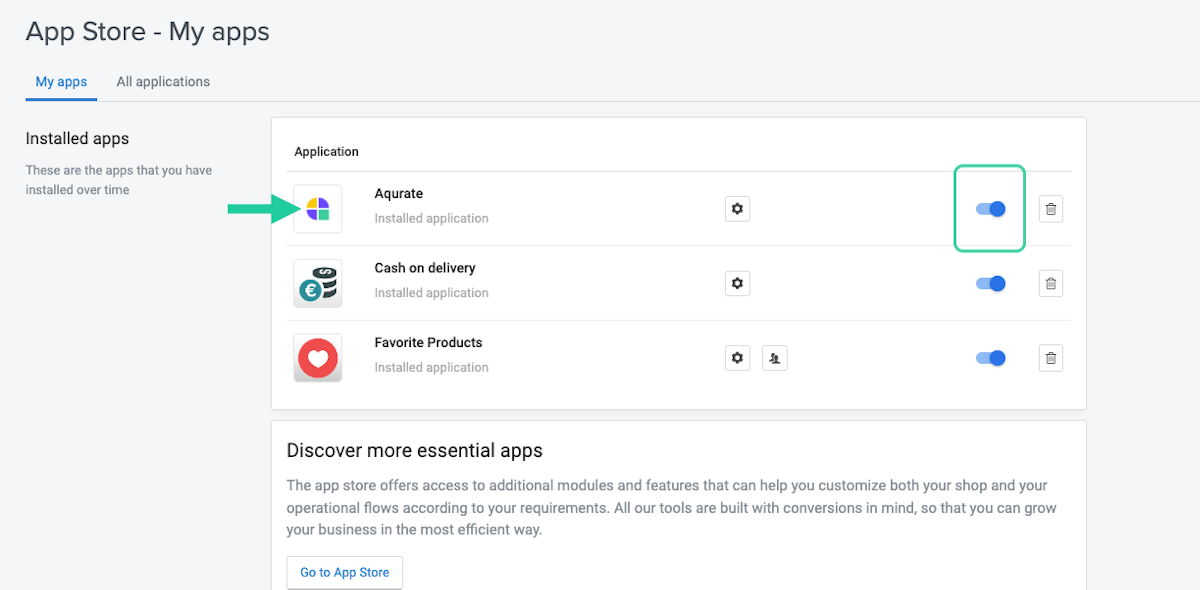
✔️ Make sure that, under My Apps, the Aqurate app stays active
Step 3 - Grant access to Aqurate in Google Tag Manager
Please follow this guide for granting access in Google Tag Manager. We will need Publish access for the email address integrations@aqurate.ai
Step 4 - Set-up the recommendation widgets in your shop
Please follow this guide for displaying the recommendation widgets live in your shop.
Step 5 - Activate the trial in your Aqurate account
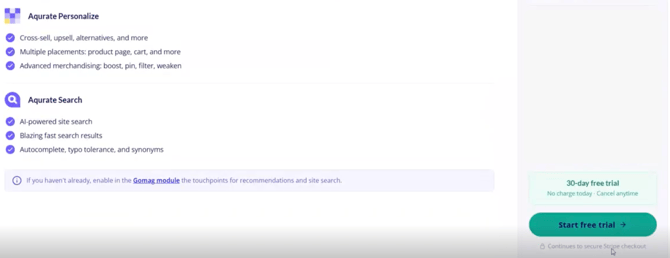
Once the synchronization with your shop is finalised, our pixel is installed in your GTM container and you have displayed the recommendation widgets in your shop, you can activate the 30 days trial in your Aqurate account.
Click on Start free trial in your account, fill in the required billing details in the next page, save the setup and you are done!
⌛️Please note that it might take up to 24 hours for the synchronisation to be finalised if you just connected your shop. Measurement data will also take up to 24 hours to appear in your dashboard after starting the trial.
Questions about permissions or getting started? We're excited to help: support@aqurate.ai