⏳ Duration: 5 minutes
🎚️ Complexity: low
➡️ Prerequisites
- An active Personalize subscription
- An active ActiveCampaign subscription
- An active integration between Aqurate and ActiveCampaign (enable it here)
👋 You should first build your email template for personalized recommendations.
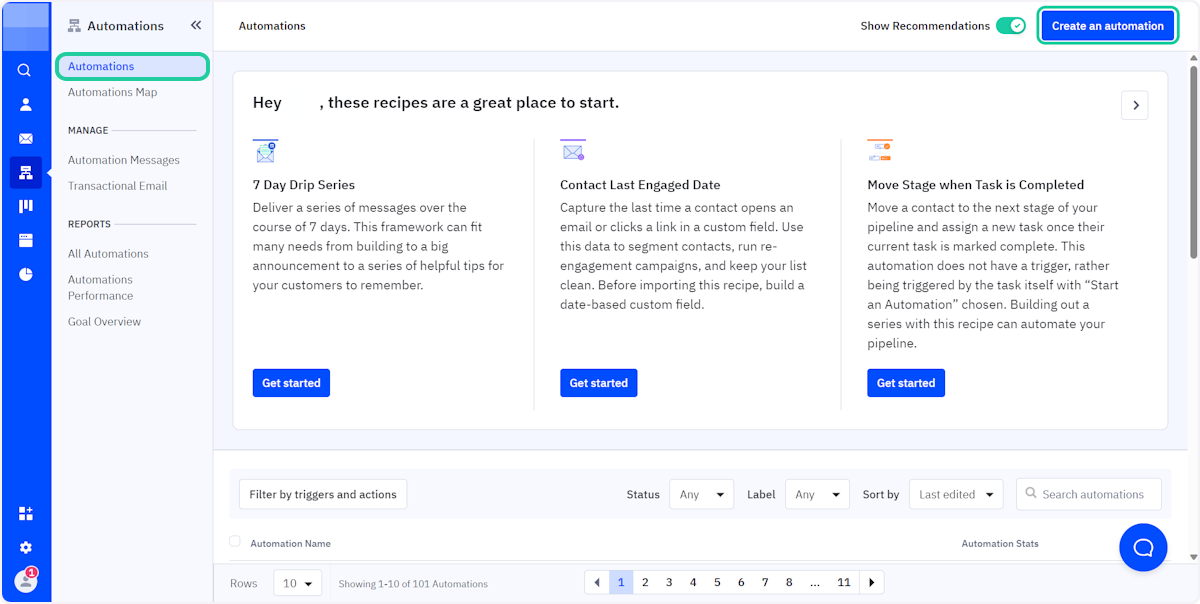
1. Click on Automations and then click on Create an automation
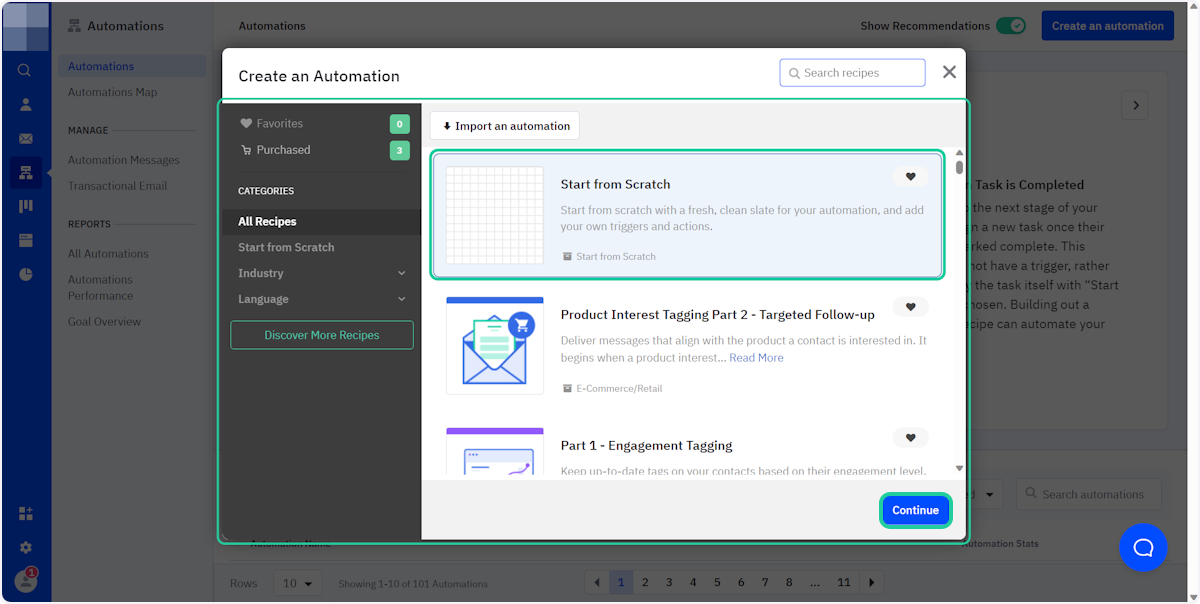
2. Select Start from Scratch and click on Continue
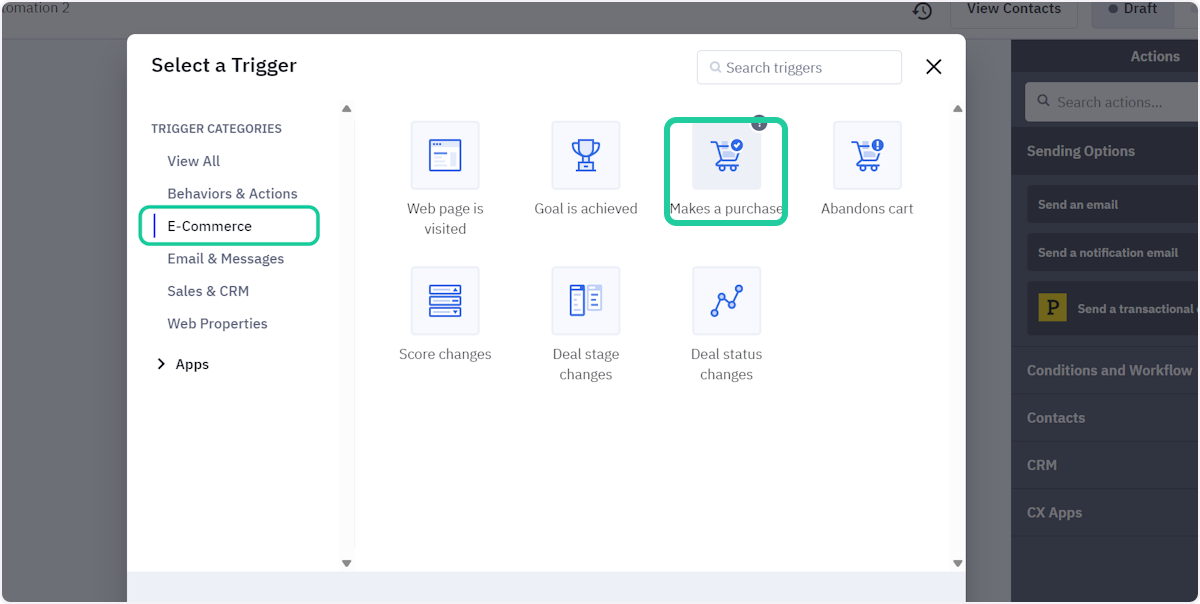
3. Select E-Commerce and click on Makes a purchase
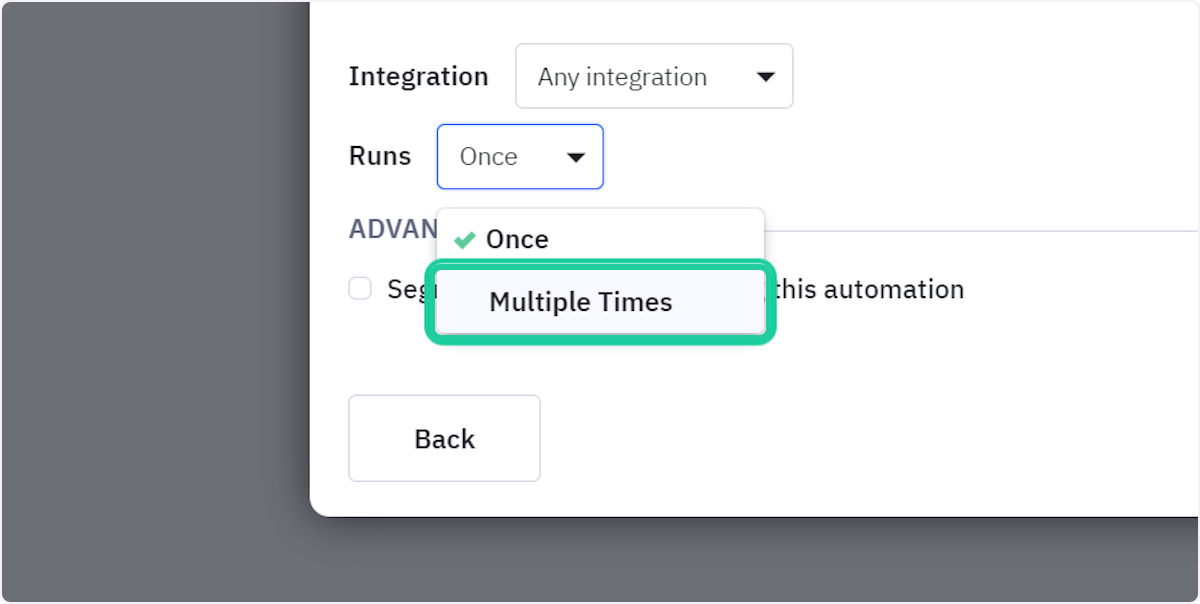
4. Click on Multiple Times
This allows customers to be sent personalized product recommendations after each purchase
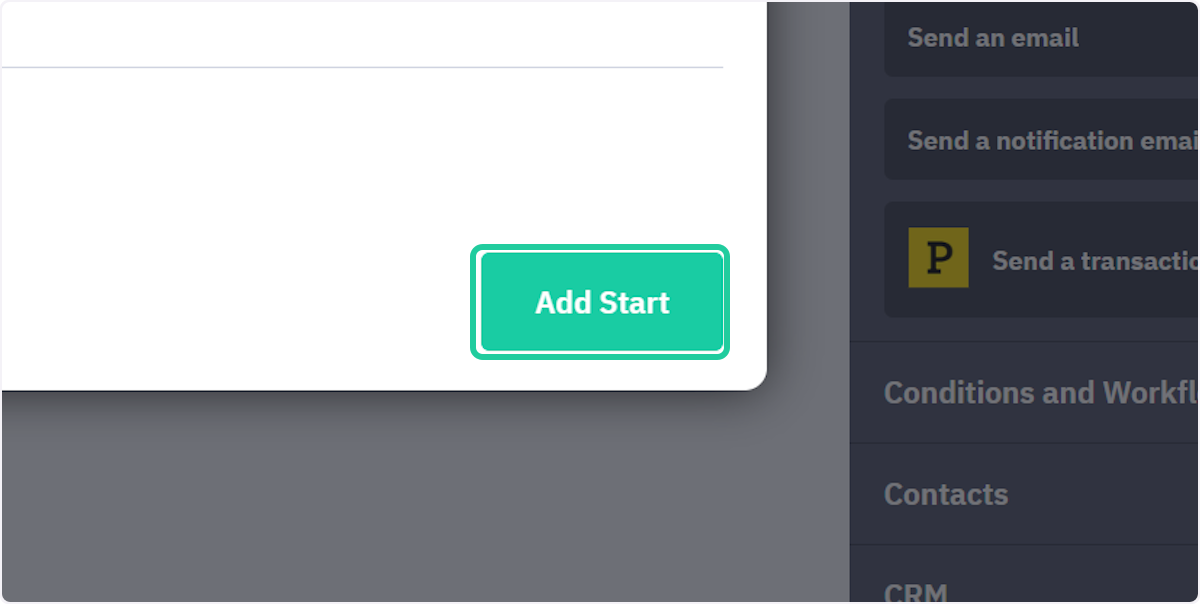
5. Click on Add Start
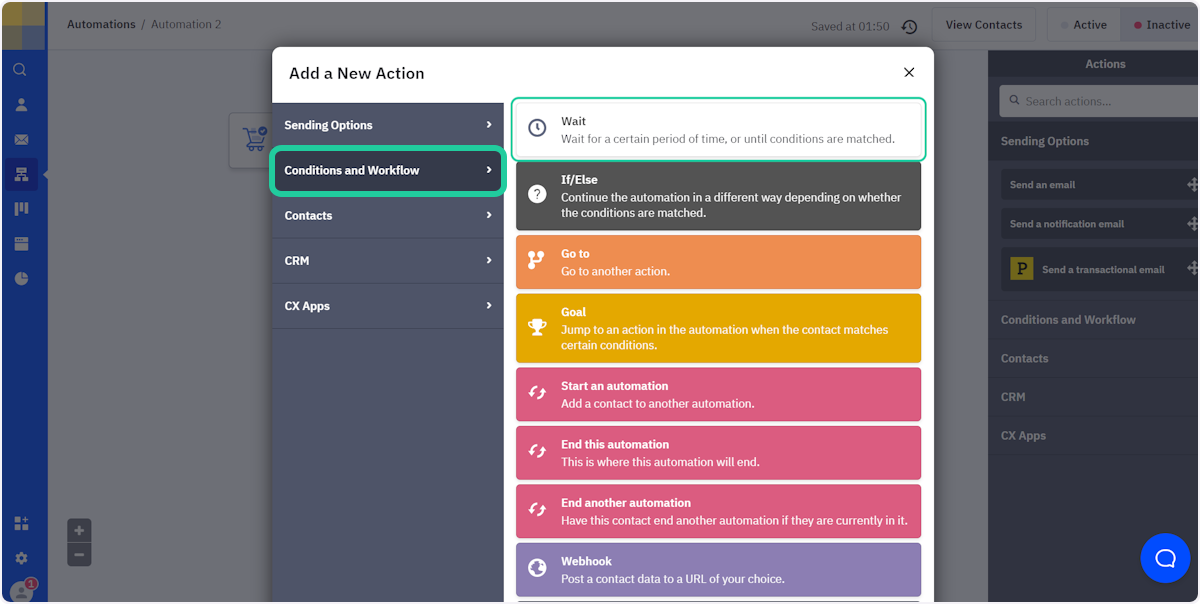
6. Add another Action by clicking on the "+", selecting Conditions and Workflow and clicking on Wait
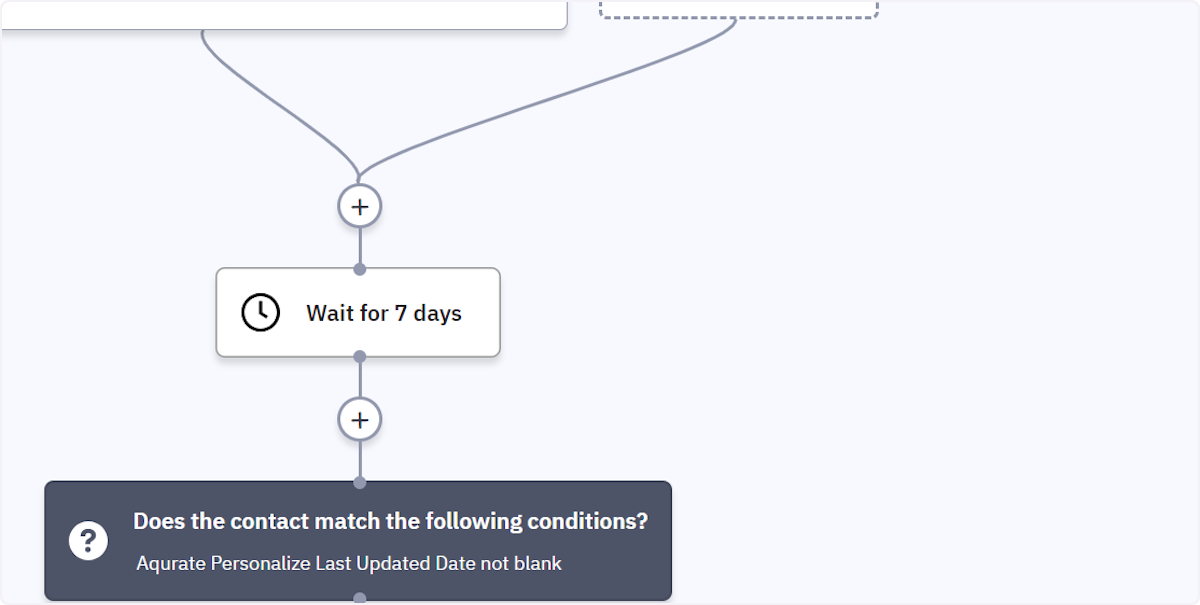
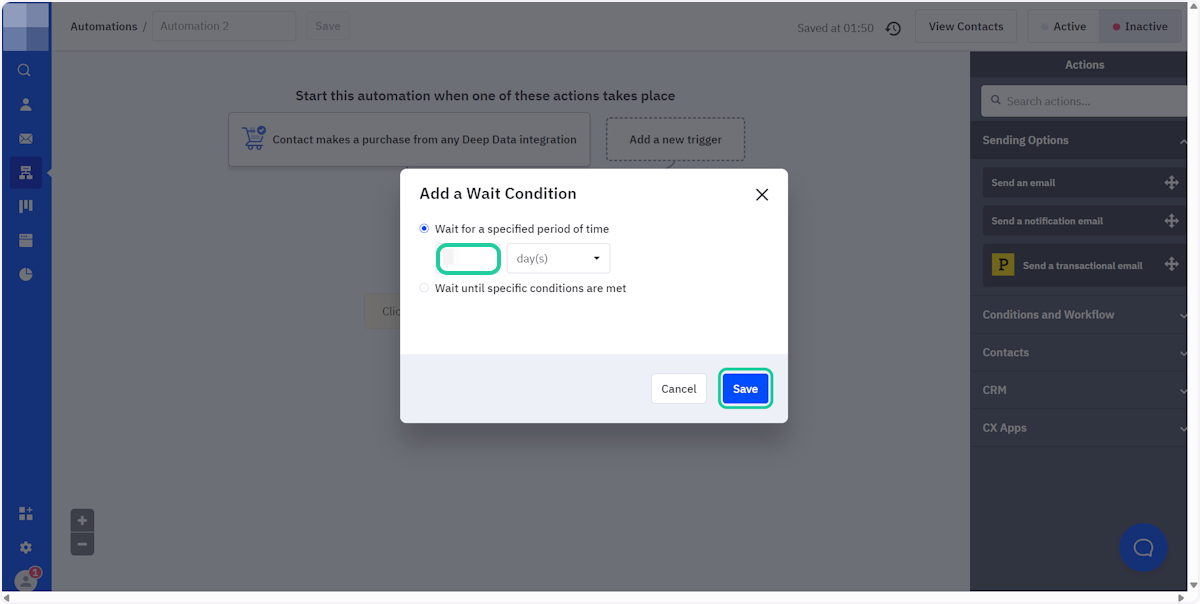
7. Select Wait for a specified period of time and choose the number of days for the delay. Then click on Save
In this example, we will choose 7 days
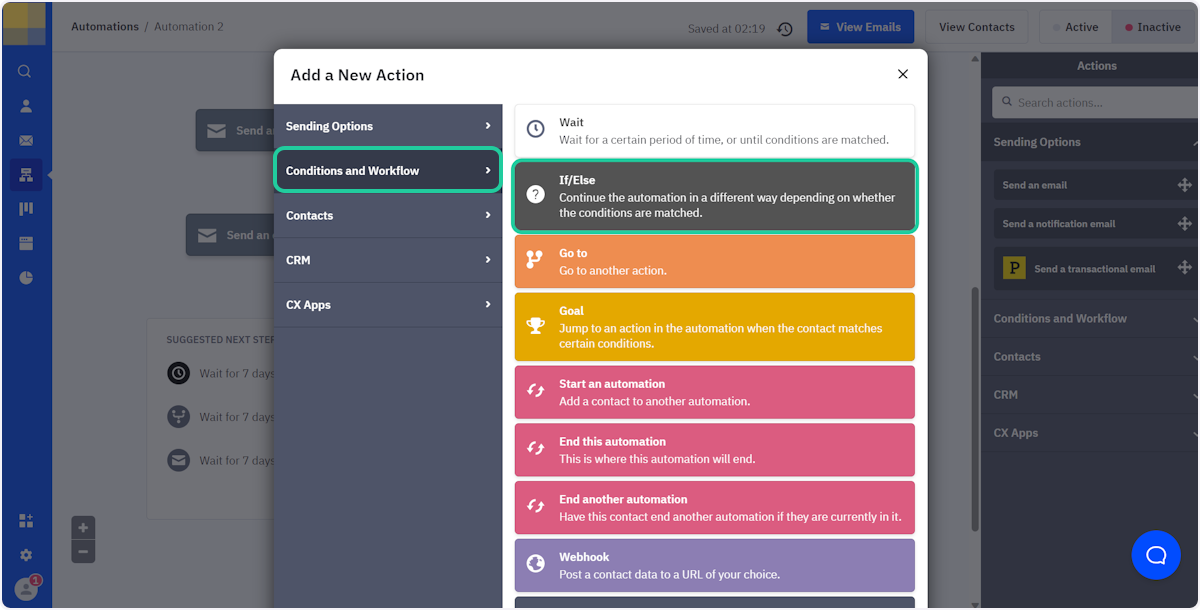
8. Add another Action by clicking on the "+", selecting Conditions and Workflow and clicking on If/Else
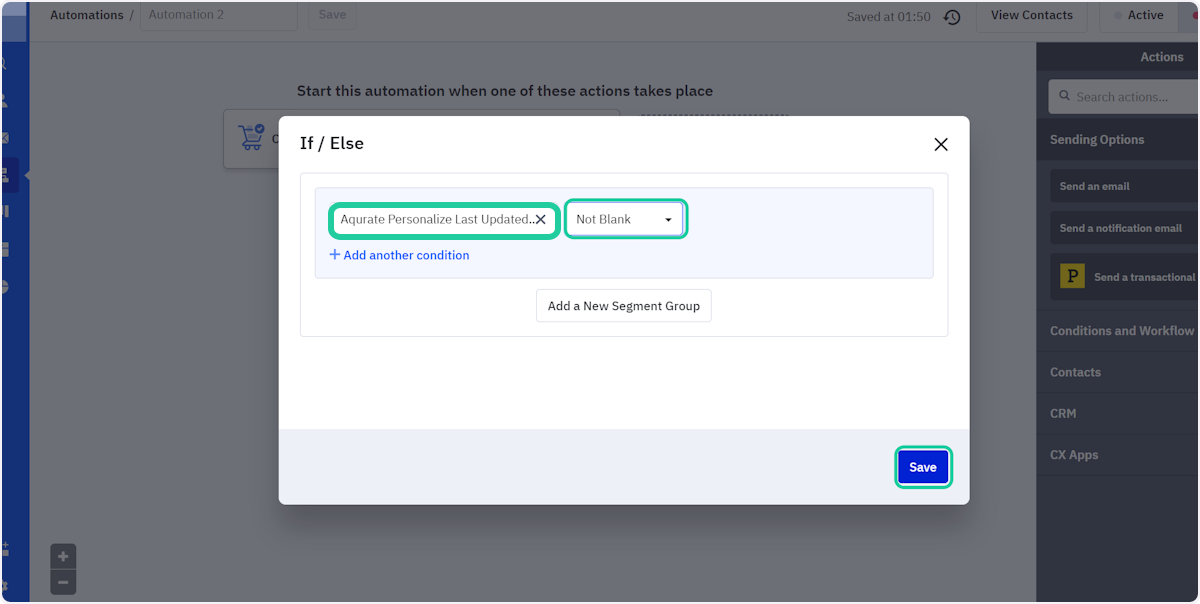
9. Set Aqurate Personalize Last Updated Date to Not Blank and click on Save
This will ensure that only users with personal recommendations will receive the email
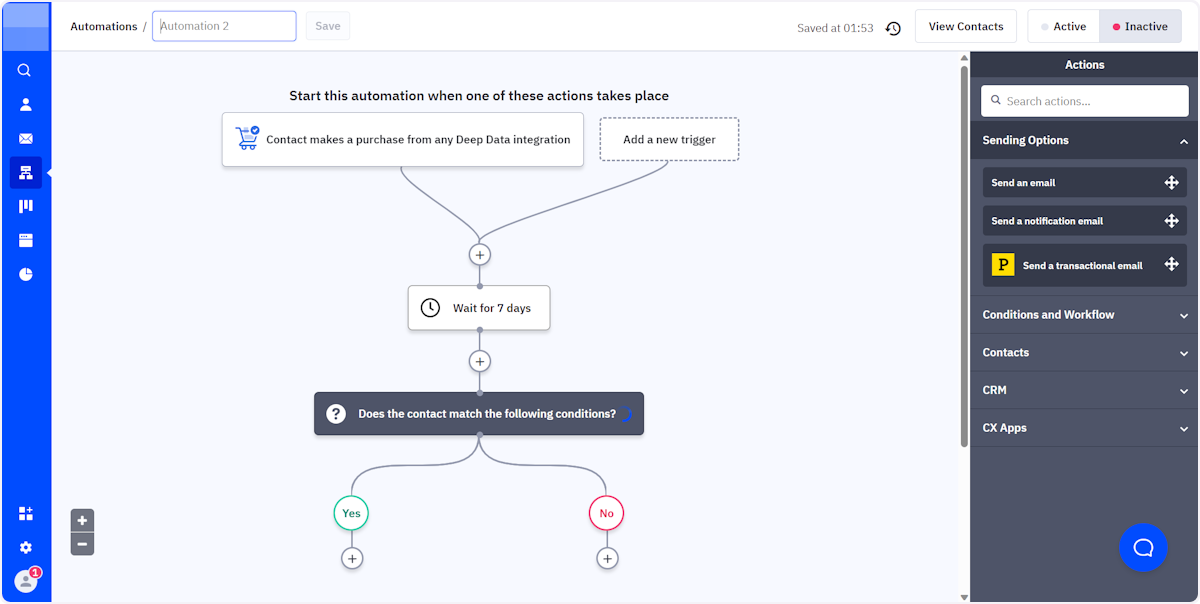
10. By now, your automation should look like this
11. Add another Action by clicking on the "+" under Yes, selecting Sending Options and clicking on Send an email

12. Give the email a name and click on Start with a template
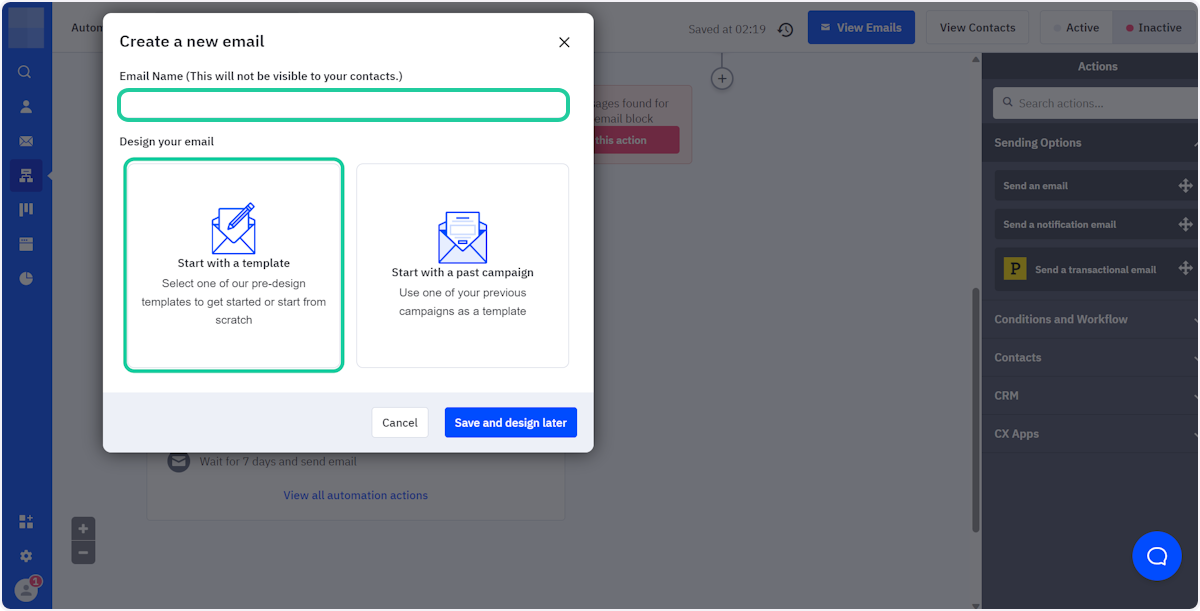
13. Choose Email Designer and click on Continue
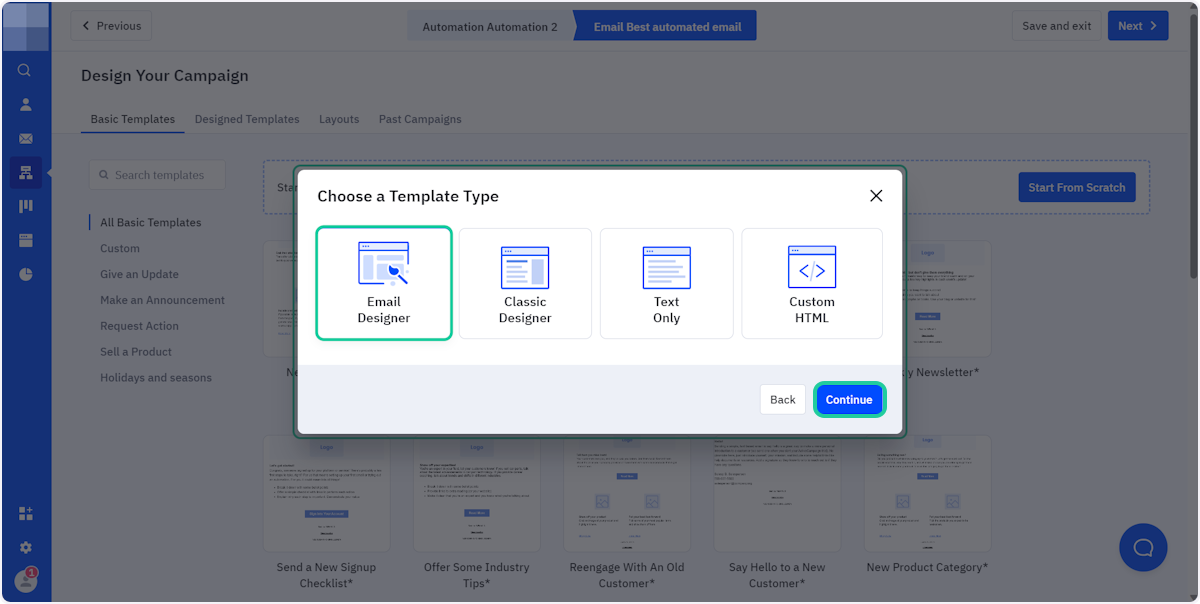
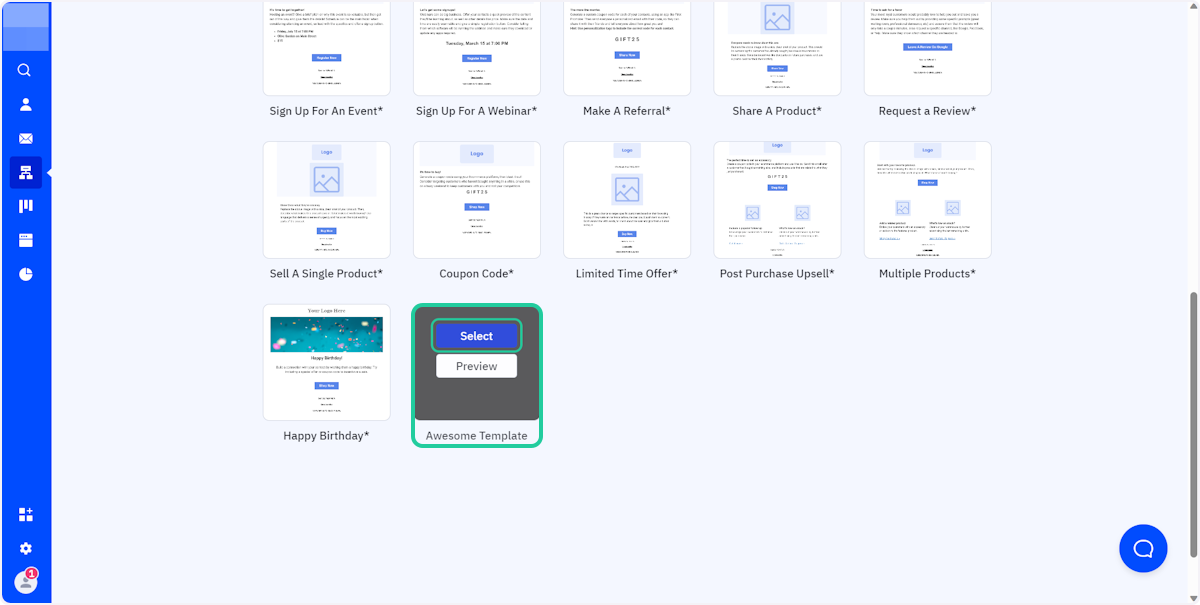
14. Find and select the template you have already prepared
You can find the tutorial for building a template with personalized product recommendations here.
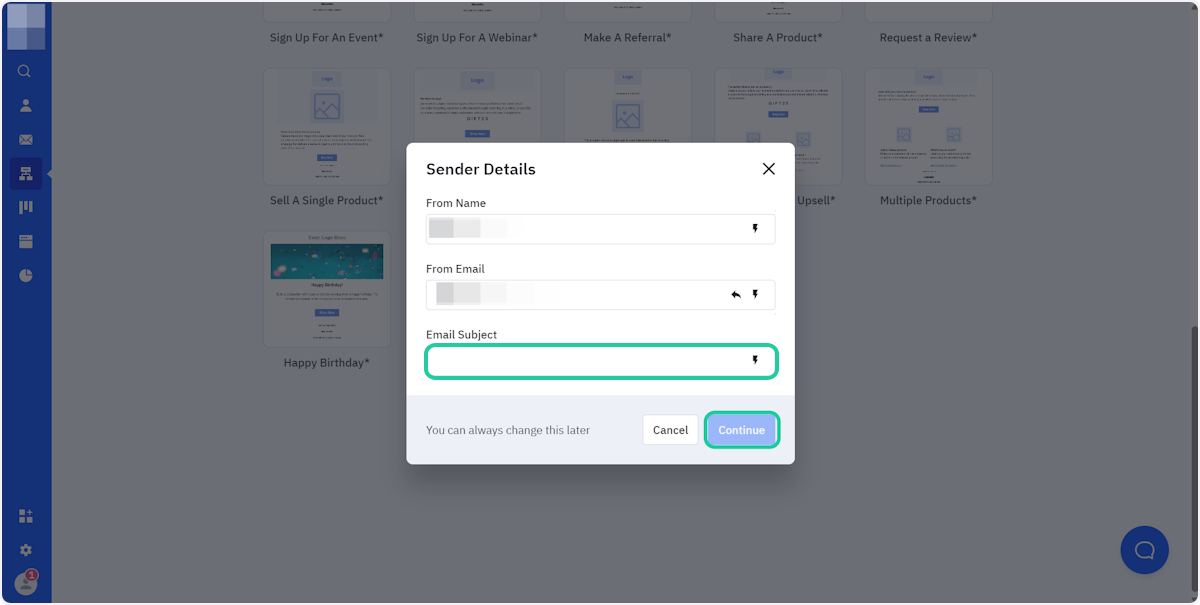
15. Give your campaign an Email Subject and click on Continue
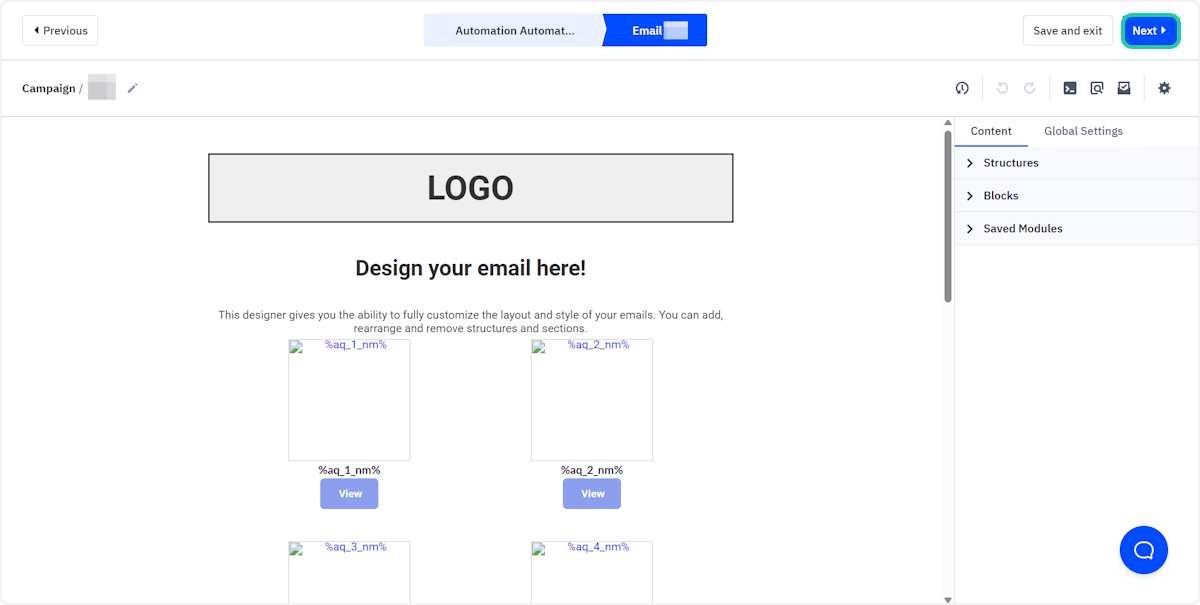
16. Double-check the content of the email, and click on Next
17. Click on Active to activate the automation