⏳ Duration: 15 minutes
🎚️ Complexity: medium
➡️ Prerequisites
- An active Personalize subscription
- An active Klaviyo subscription
- An active integration between Aqurate and Klaviyo (enable it here)
- An active integration between your shop and Klaviyo, including data about purchases
Why use automated emails
Flows in Klaviyo help you streamline your communications and make sure your contacts get the right emails at the right time. You can build from scratch an automated flow, select the trigger that will start the journey, and include personalized product recommendations at user level in each email.
In this article, we'll guide you through the creation of a post-purchase automated email in Klaviyo.
1. On the Flows page, click on Create flow and then select Create flow from scratch

2. Give your flow a name and click on Create Flow

3. Choose Metric as trigger
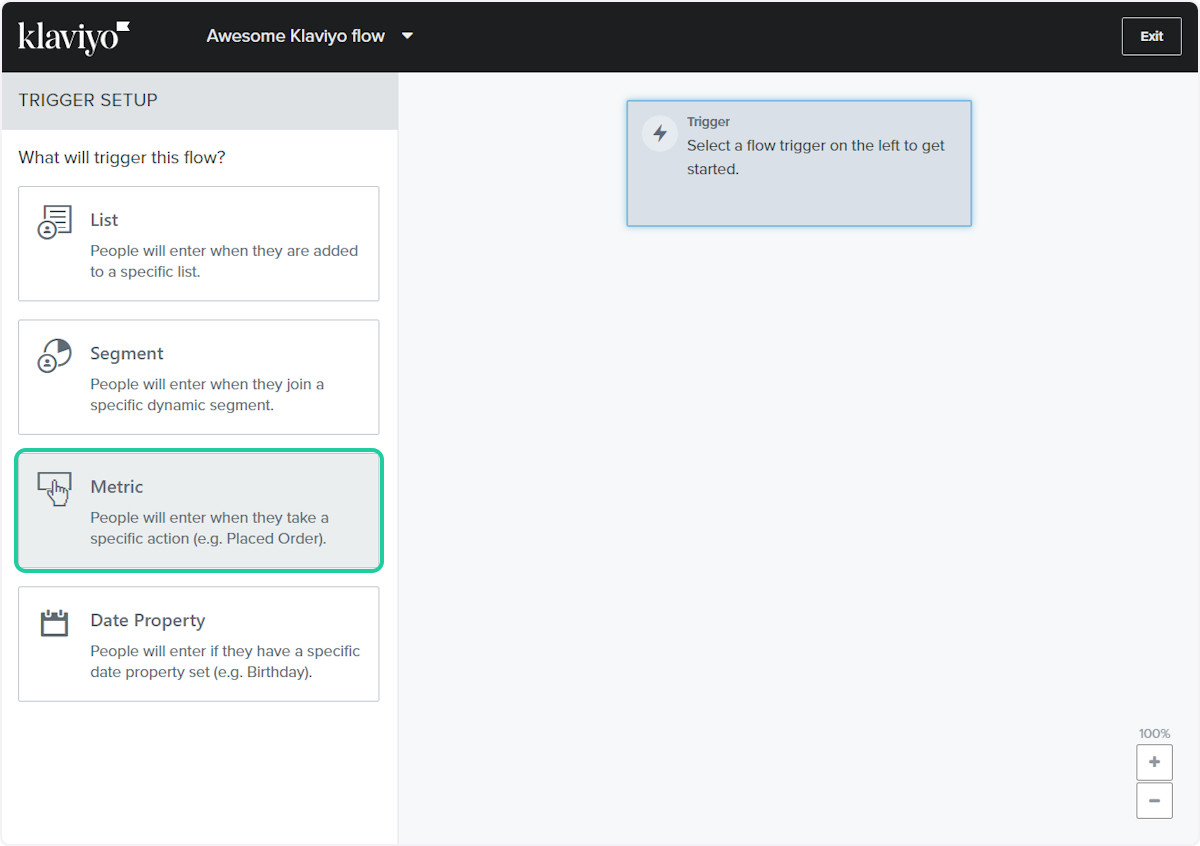
4. Choose Placed Order and click on Done

5. Drag the Time Delay to your flow

6. Add your desired time delay and click on Save
We recommend at least 24 hours from the last order, so all recommendations get populated.

7. Add an Email action to the flow

8. Click on the Email

9. Click on Configure Content

10. Select any template you want, or start with a blank email.
In this example, we're using a blank email.
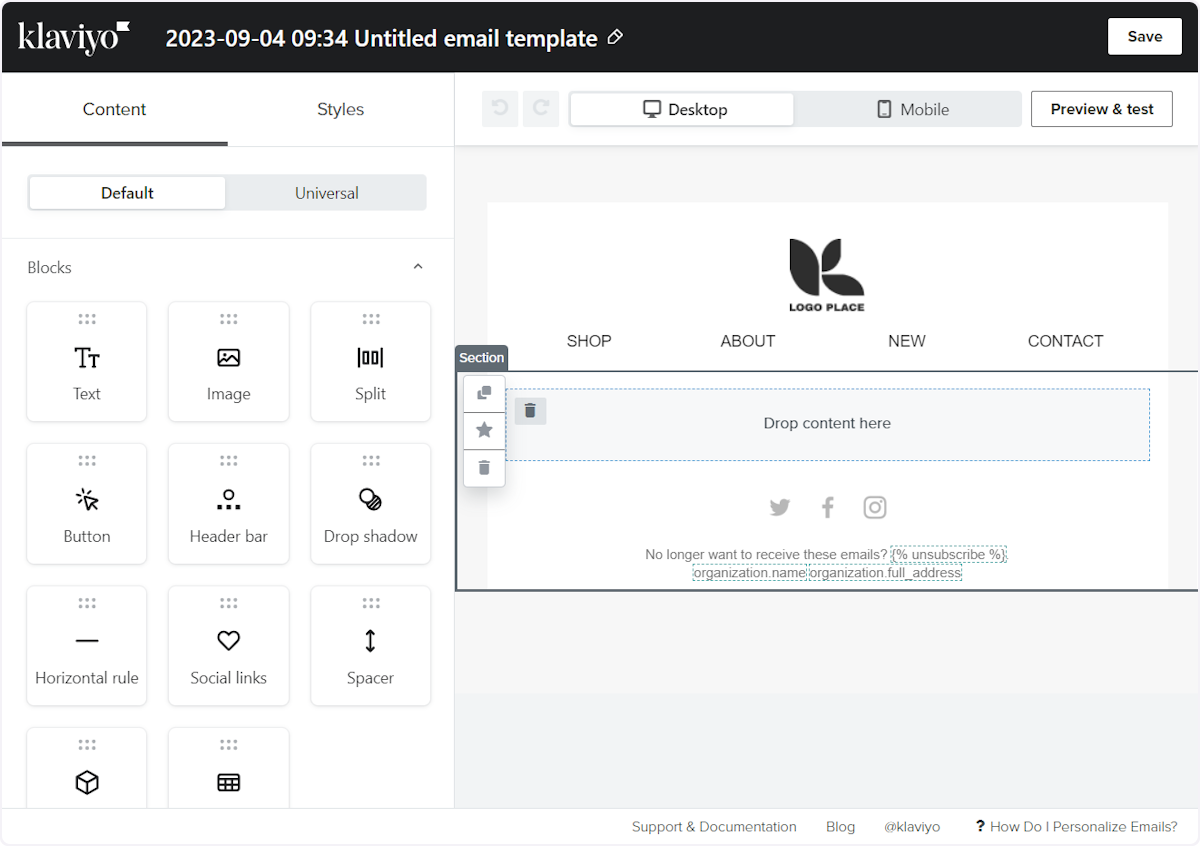
11. Add a Text block to the email, and click on Source code

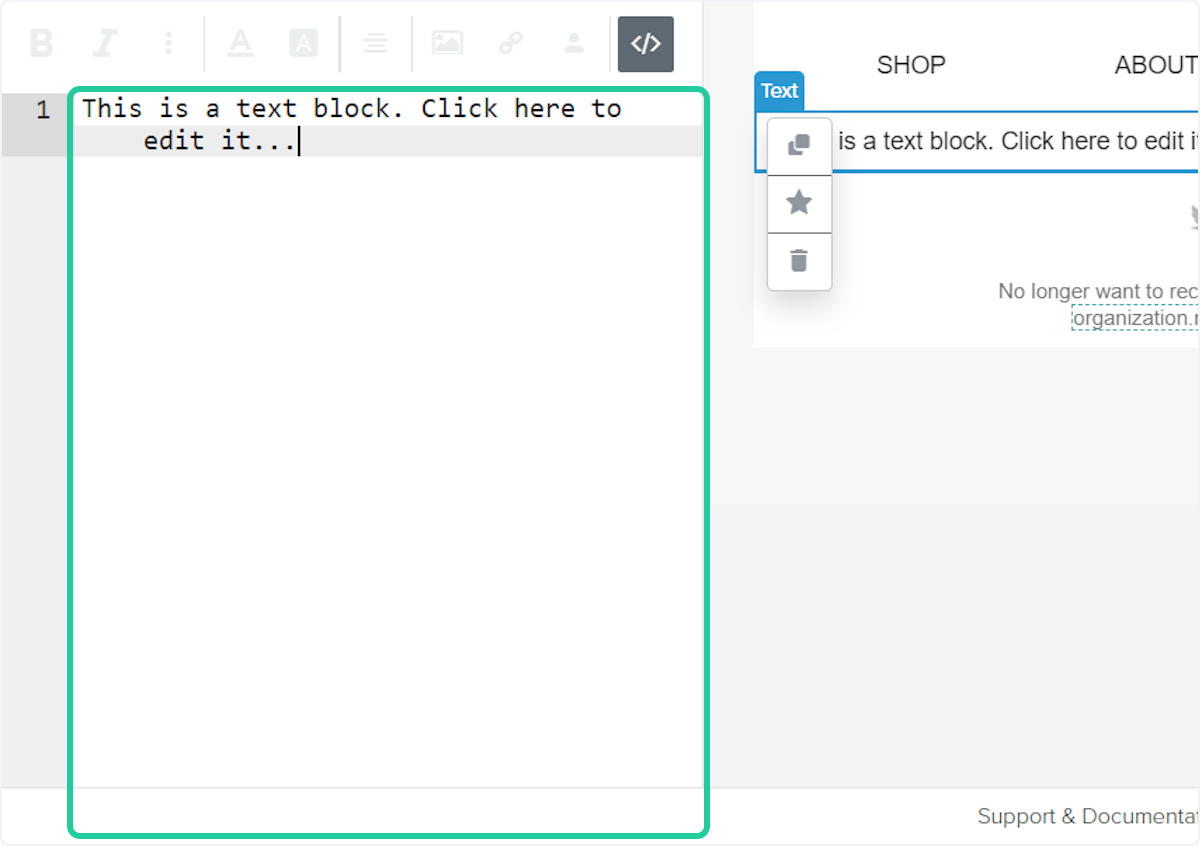
13. When you're happy with your email, click on Save
Your email should display some placeholders for products - don't worry, they will be filled out for each email recipient.

14. Back on the flow, click on Additional Filters

15. Click on Add an additional filter

16. Choose Properties about someone for the condition

17. For the condition, select Properties about someone, then set AQ_1_IM to "is set". Then hit "Save".
This will make sure that only users with recommendations receive the emails.

18. Click on Review and Turn On

You are done! 🚀
Now you'll send automated email to your contacts based on your chosen starting point.
Please note that if you use the Placed Order starting point, customers will not be retroactively enrolled in the automation. In other words, only contacts who did not make a purchase x days after the automation is live will be enrolled.
The links of the personalized product recommendations include Source and Medium to be tracked in Google Analytics.
Questions about permissions or getting started? We're excited to help: support@aqurate.ai