⏳ Duration: 15 minutes
🎚️ Complexity: medium
➡️ Prerequisites
- An active Personalize subscription
- An active integration between Aqurate and Mailchimp (enable it here)
- An active integration between your shop and Mailchimp, including data about purchases
Why use automated emails
Automations in Mailchimp help you streamline your communications and make sure your contacts get the right emails at the right time. You can build from scratch an automation, select the trigger that will start the journey and include in the email content personlized product recommendations at user-level.
In this article we'll guide you through the creation of a post-purchase automated email.
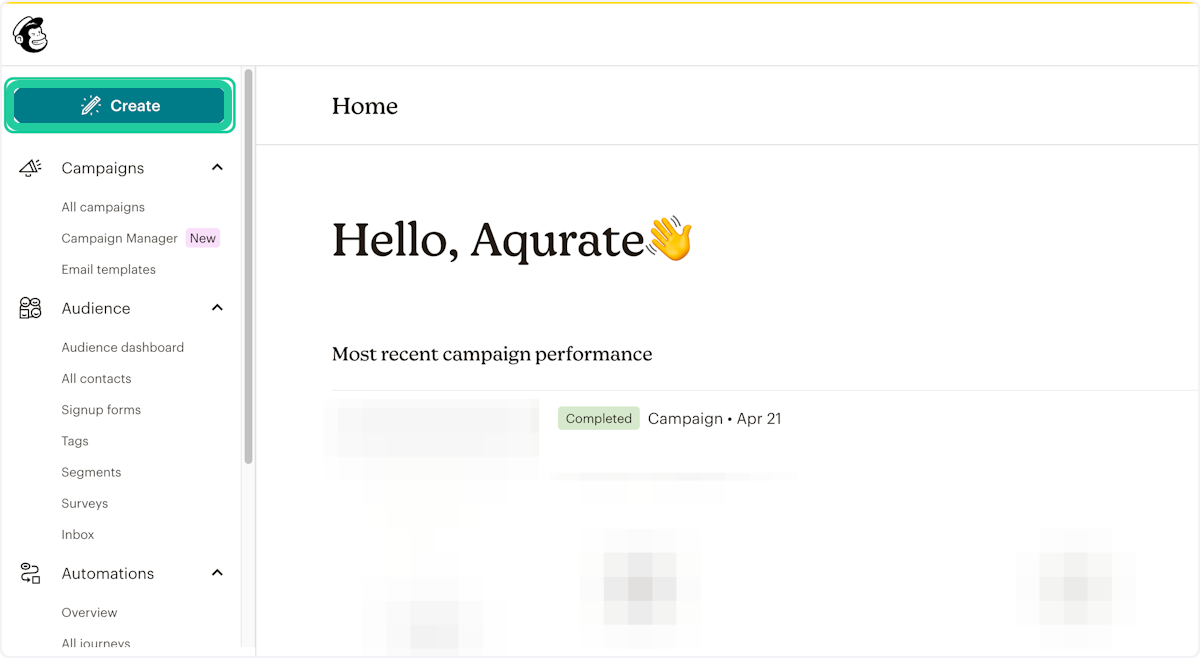
1. Log into Mailchimp account and click on Create
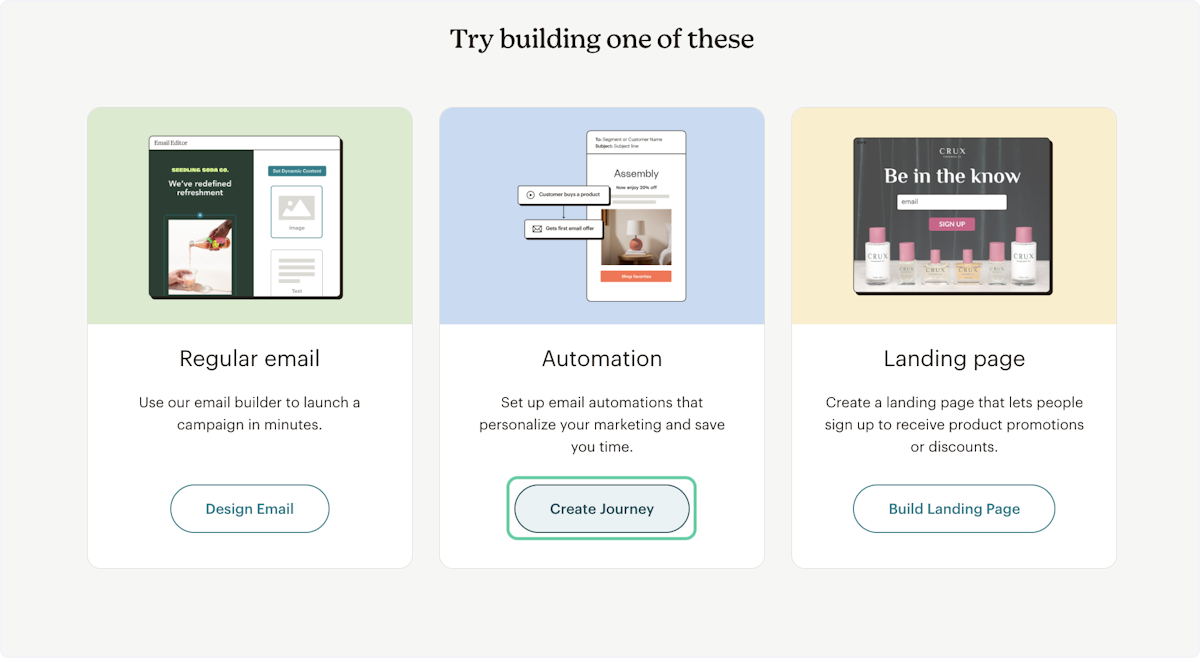
2. Select to create a new Automation Journey

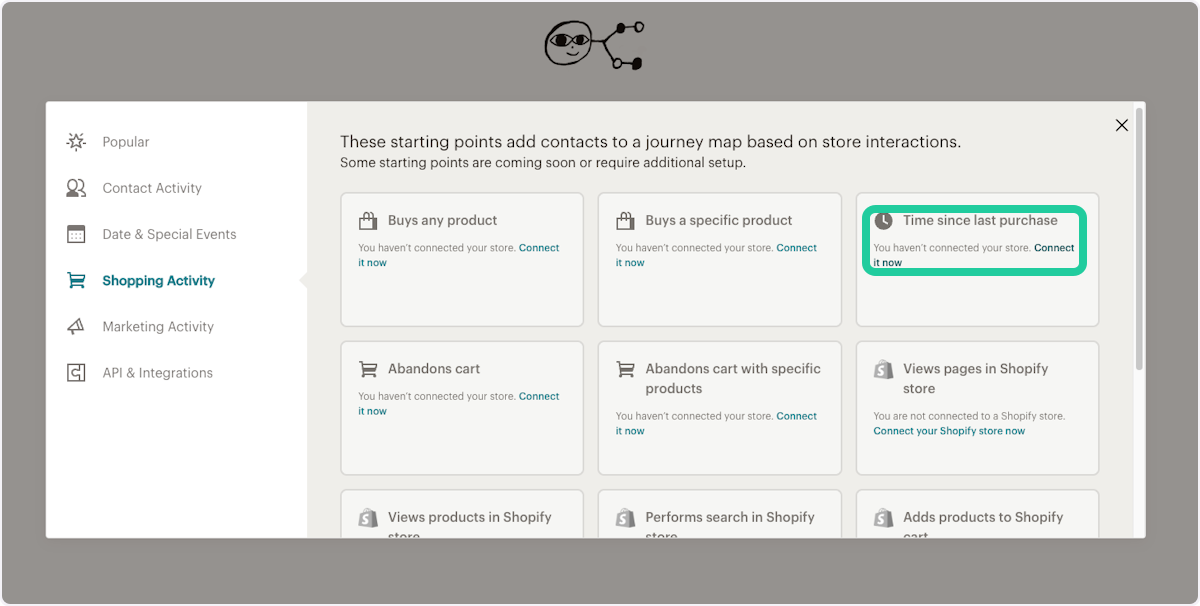
4. Click to Choose A Starting Point

5. Go to Shopping Activity and select Time since last purchase
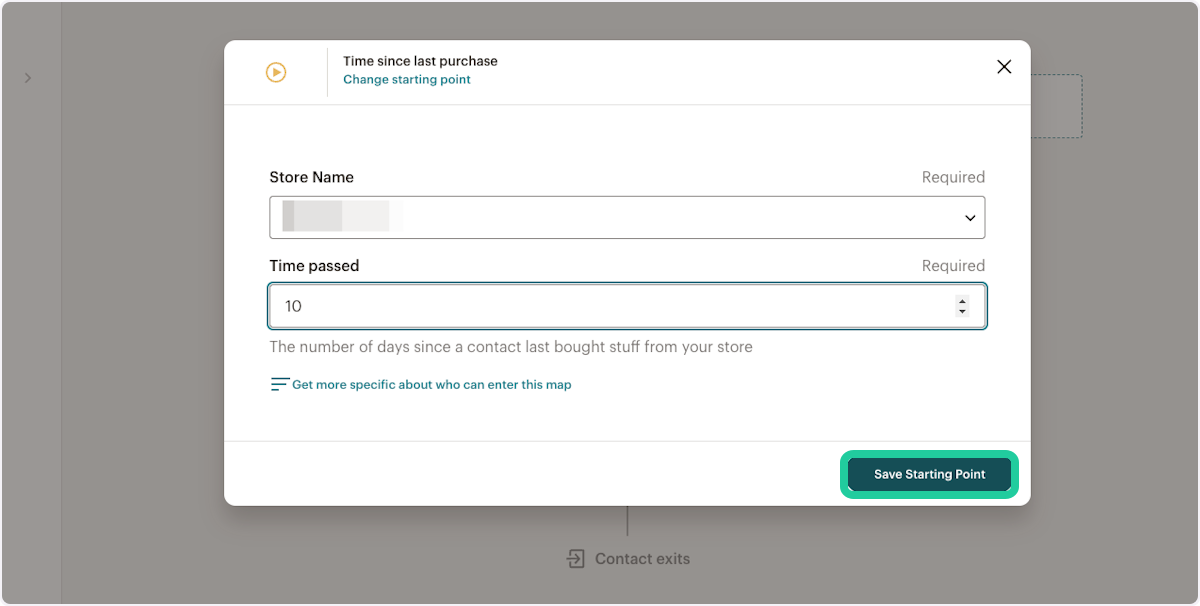
6. Select the time period you wish to pass until mail to be sent out, e.g. 10 days in this demonstration.
7. Add a Filter to the starting point
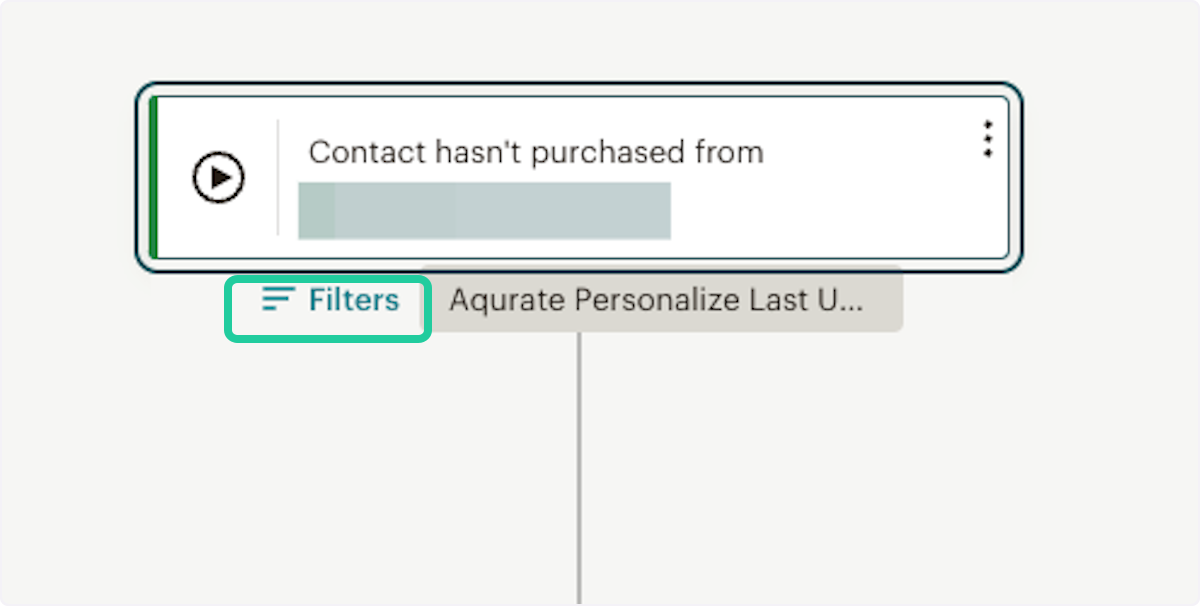
8. Select from the list Aqurate Personalize Last Update Date

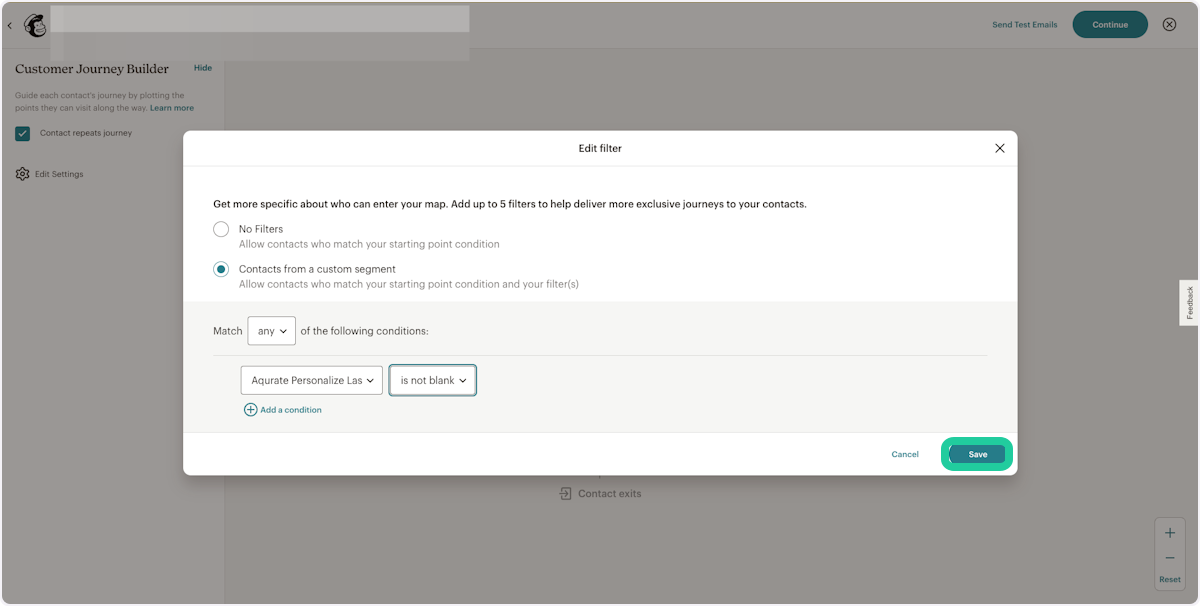
9. Choose the value of the condition is not blank and Save
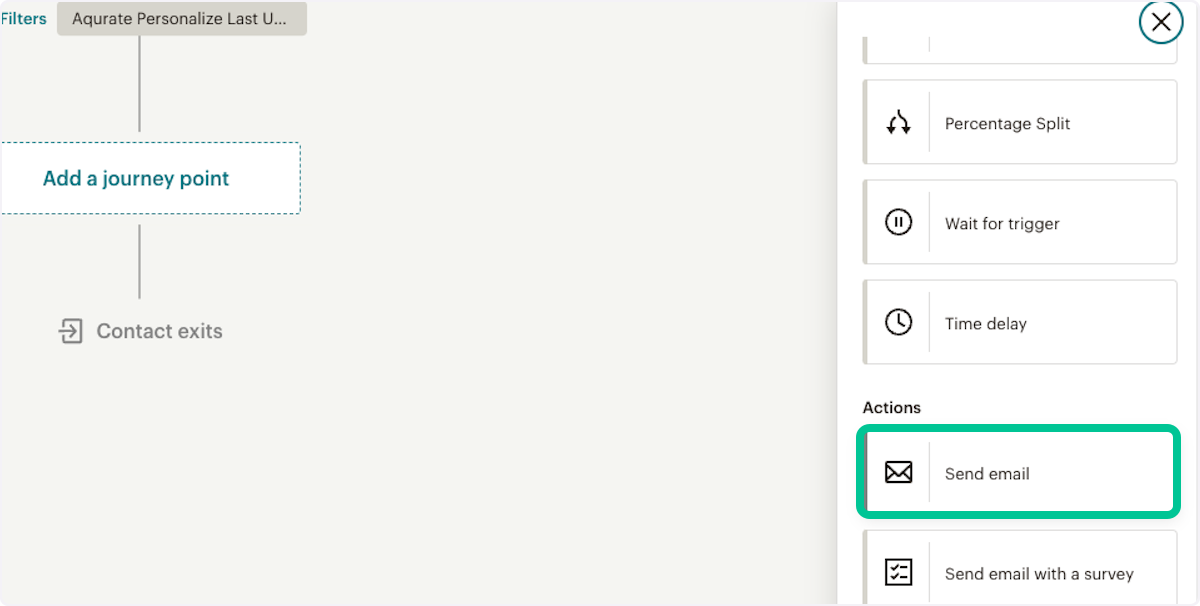
10. Add another journey point Send email
11. When designing the email, add the Code block into your design

12. Remove the code line pre-filled in the block and paste the html code you have copied from Aqurate > Email.
ℹ️ How to generate the Personalize html code? Check this article.

13. Your automation might look like in this demonstration if you have followed the instructions
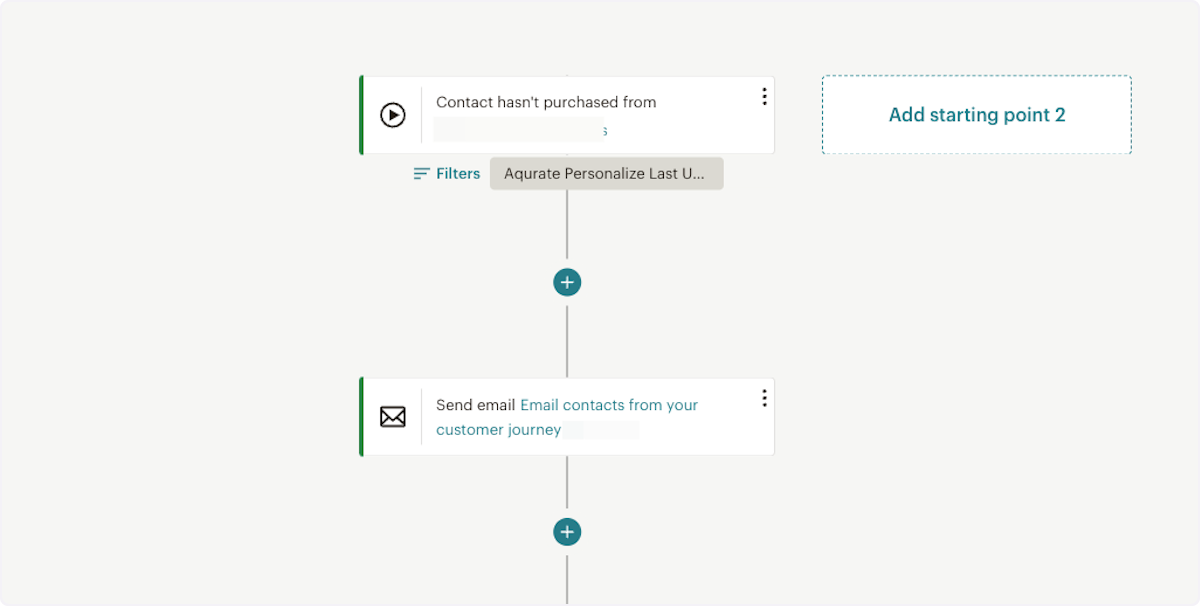
You are done! 🚀
Now you'll send automated email to your contacts based on your chosen starting point.
Please note that if you use the Time since last purchase starting point, customers will not be retroactively enrolled in the automation. In other words, only contacts who did not make a purchase x days after the automation is live will be enrolled.
The links of the personalized product recommendations include Source and Medium to be tracked in Google Analytics.
Questions about permissions or getting started? We're excited to help: support@aqurate.ai